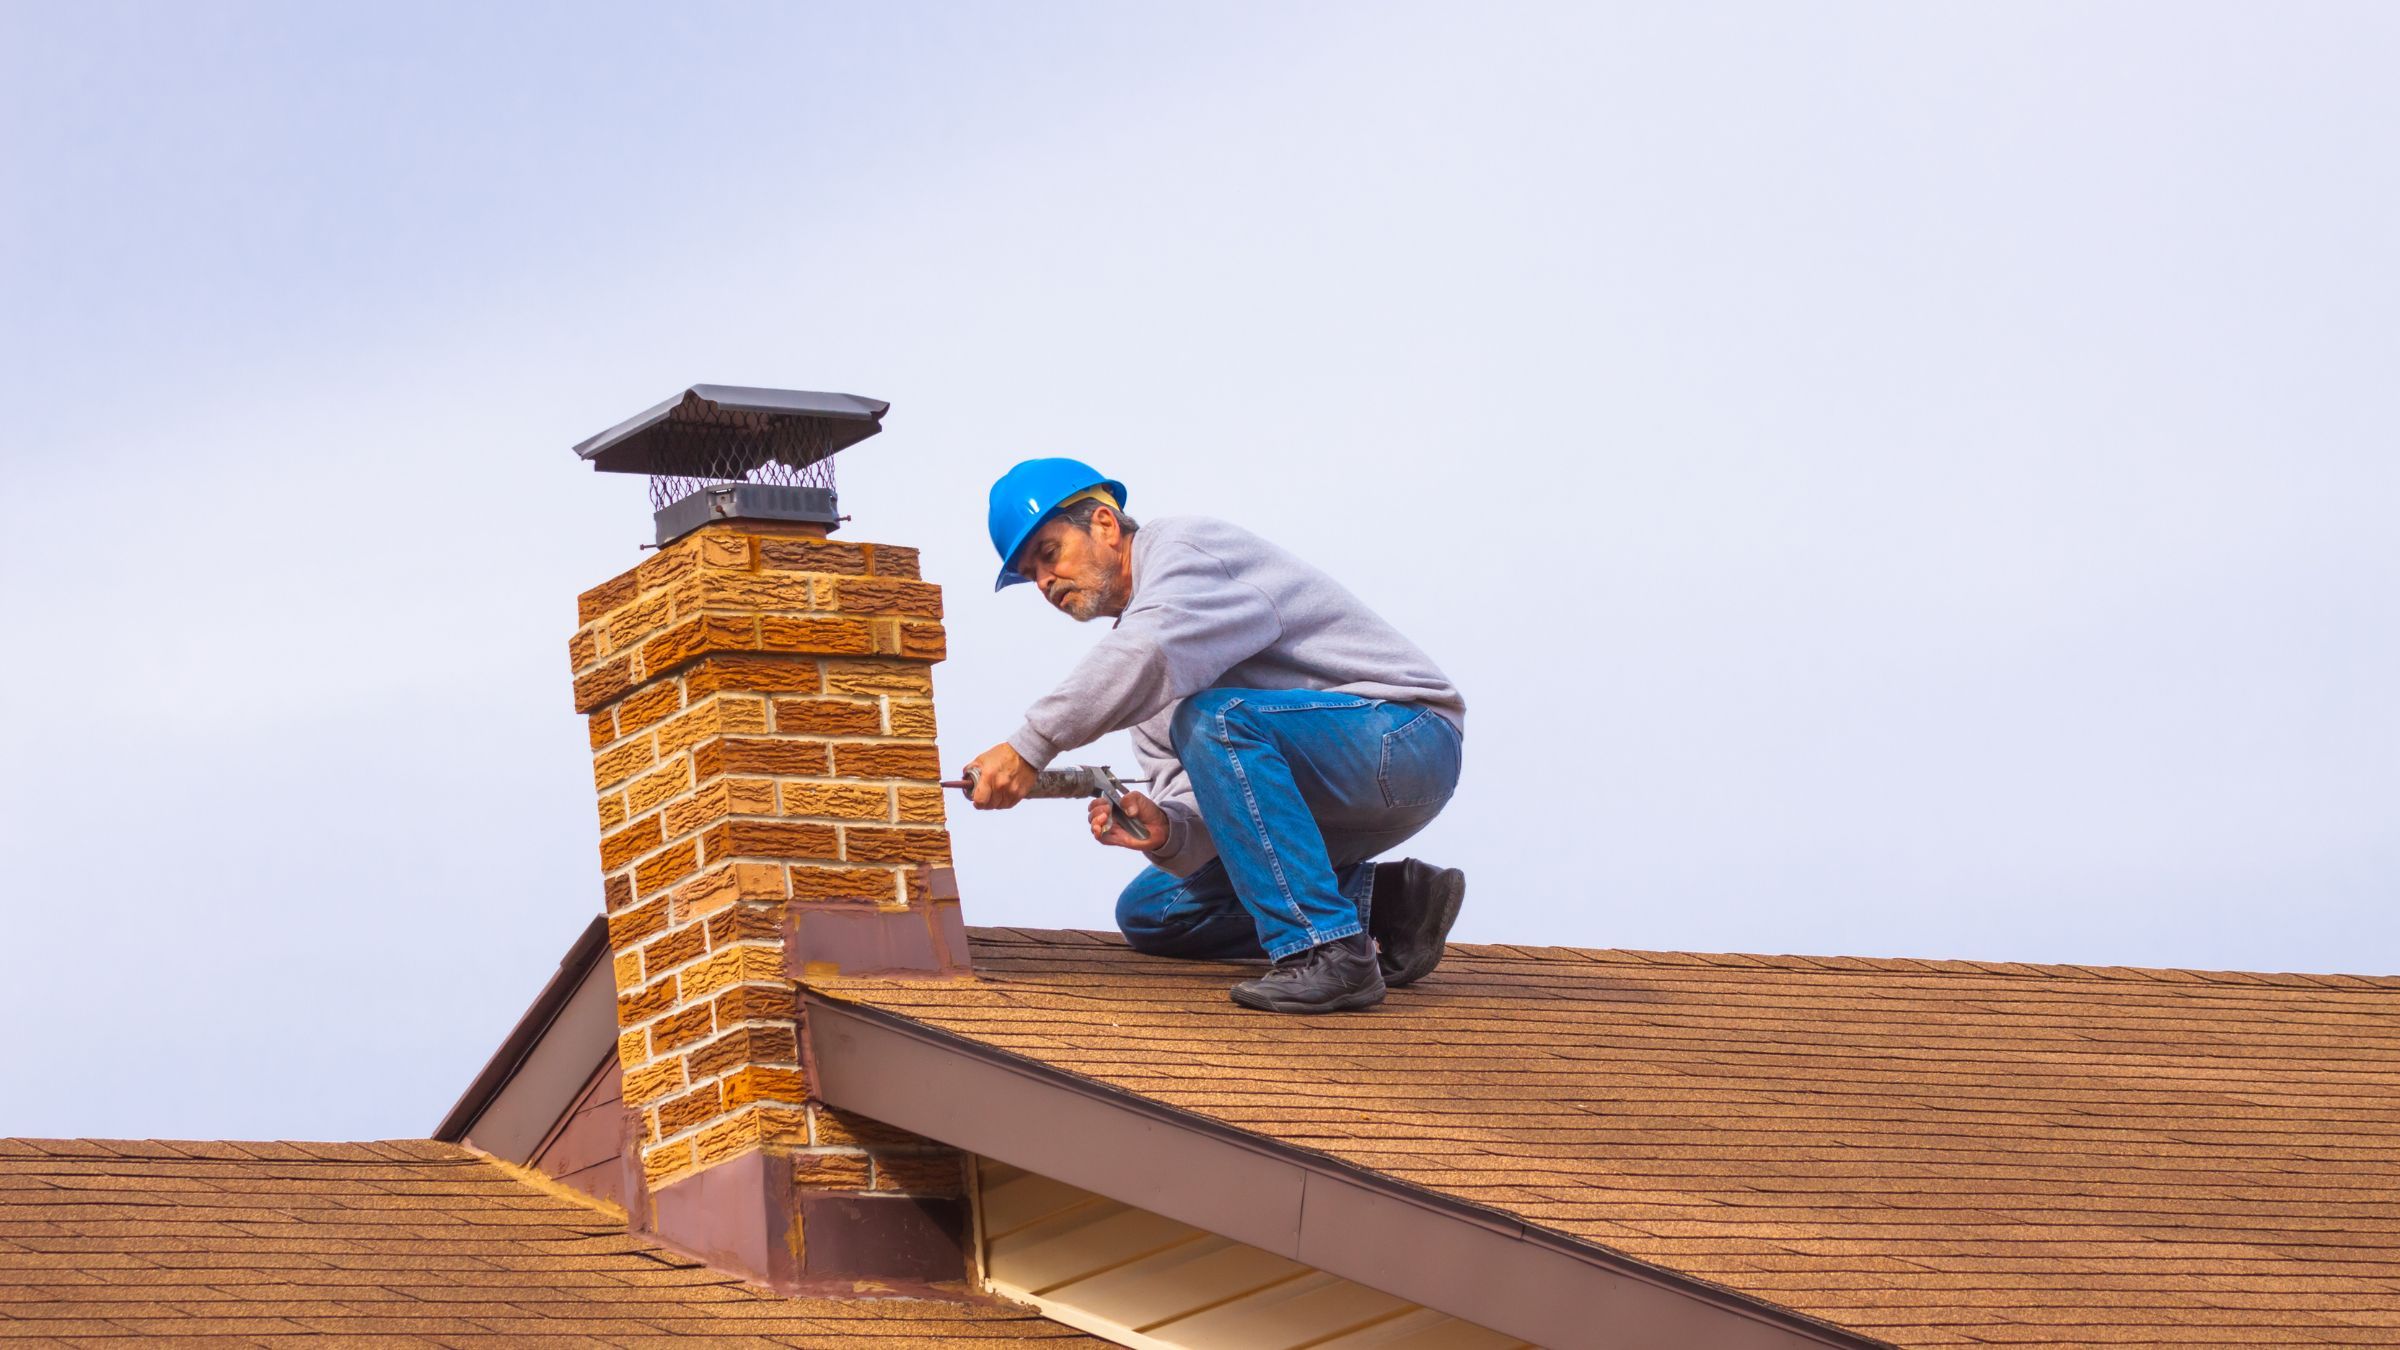
A leak that shows up near a chimney almost always starts at the flashing — the metal where the chimney meets the roof — rather than in the brick or the shingles. It is one of the most common roof leaks, and one of the most fixable.
The complication is that water rarely enters where it appears. A stain on a bedroom ceiling can trace back several feet upslope.
Why the joint fails
A chimney is masonry passing through a roof, and the two move differently. Brick and shingles expand and contract at different rates through heat and cold, and over years the joint between them opens slightly. Wind-driven rain finds those gaps.
The second cause is flashing that has simply aged out. Metal corrodes, fasteners loosen, and a previous repair — usually roofing tar smeared over the seam — can look sealed while quietly routing water behind the metal instead of over it.
Tar on a chimney joint is a warning sign, not a repair.
What a correct flashing system looks like
A chimney flashing system, bottom up. Each piece overlaps the one below so water always sheds outward.
The important piece is the counter flashing. Step flashing alone leaves the top edge of the metal exposed to the wall; counter flashing tucks into a groove cut in the masonry and folds down over it, so water hitting the brick runs out onto the roof rather than down behind the flashing.
If you can see exposed nail heads, gaps at the metal edges, or a single continuous strip of metal instead of overlapping steps, the system is wrong regardless of how new the shingles look.
Finding the entry point
Work from the ground first with binoculars, then from the roof only if you can do it safely.
The upslope side is where to look first. Water runs down the roof and stacks against the back of the chimney. If that area is flat, poorly shaped, or missing a cricket — a small ridge that splits water around the chimney — water sits there and eventually finds a path in.
Look for the trail, not the stain. Dark streaks on the decking, rust tracks on metal, and lifted shingle edges upslope of the leak point toward the real entry.
Check the timing. A leak that appears only during wind-driven rain, and not during ordinary heavy rain, usually means water is being pushed sideways past flashing that sheds fine under vertical rain.
Sealant fix or reflash
This is the decision that determines whether you’re spending a hundred dollars or a few thousand.
Sealant is reasonable when the flashing itself is sound and intact, the counter-flashing groove has opened or the old caulk has cracked, and you’re closing a specific visible gap. Use a masonry-rated polyurethane or a compatible flashing sealant, on a clean dry surface.
Reflashing is the answer when metal is corroded, bent, or pulling away; when there are exposed fasteners through the flashing face; when a previous repair used tar; or when the flashing was installed as a single strip rather than stepped. Sealing over a failed system buys a season and hides the problem while the deck underneath keeps getting wet.
The honest test: if you find yourself sealing the same joint a second time, the flashing needs replacing, not more sealant.
When it stops being a chimney job
Call a roofer rather than working it yourself if any of these are true:
- The roof is steep, wet, or more than one storey up
- The decking around the chimney feels soft underfoot
- Mortar joints are crumbling — that’s masonry work, not flashing
- The stain inside is growing between rains, which suggests trapped water
- Flashing needs to be cut into brick, which requires a grinder and a steady hand at height
Chimney flashing repair or replacement typically runs $500 to $1,800 as a project, per the EstimationPro.AI construction cost dataset, 2026. That is almost always cheaper than the deck repair that follows from leaving it.
For what a full roof replacement costs, see the roofing cost guide, or what roofers are actually quoting for the per-square breakdown.